
5 Common DIY Painting Mistakes and How to Avoid Them
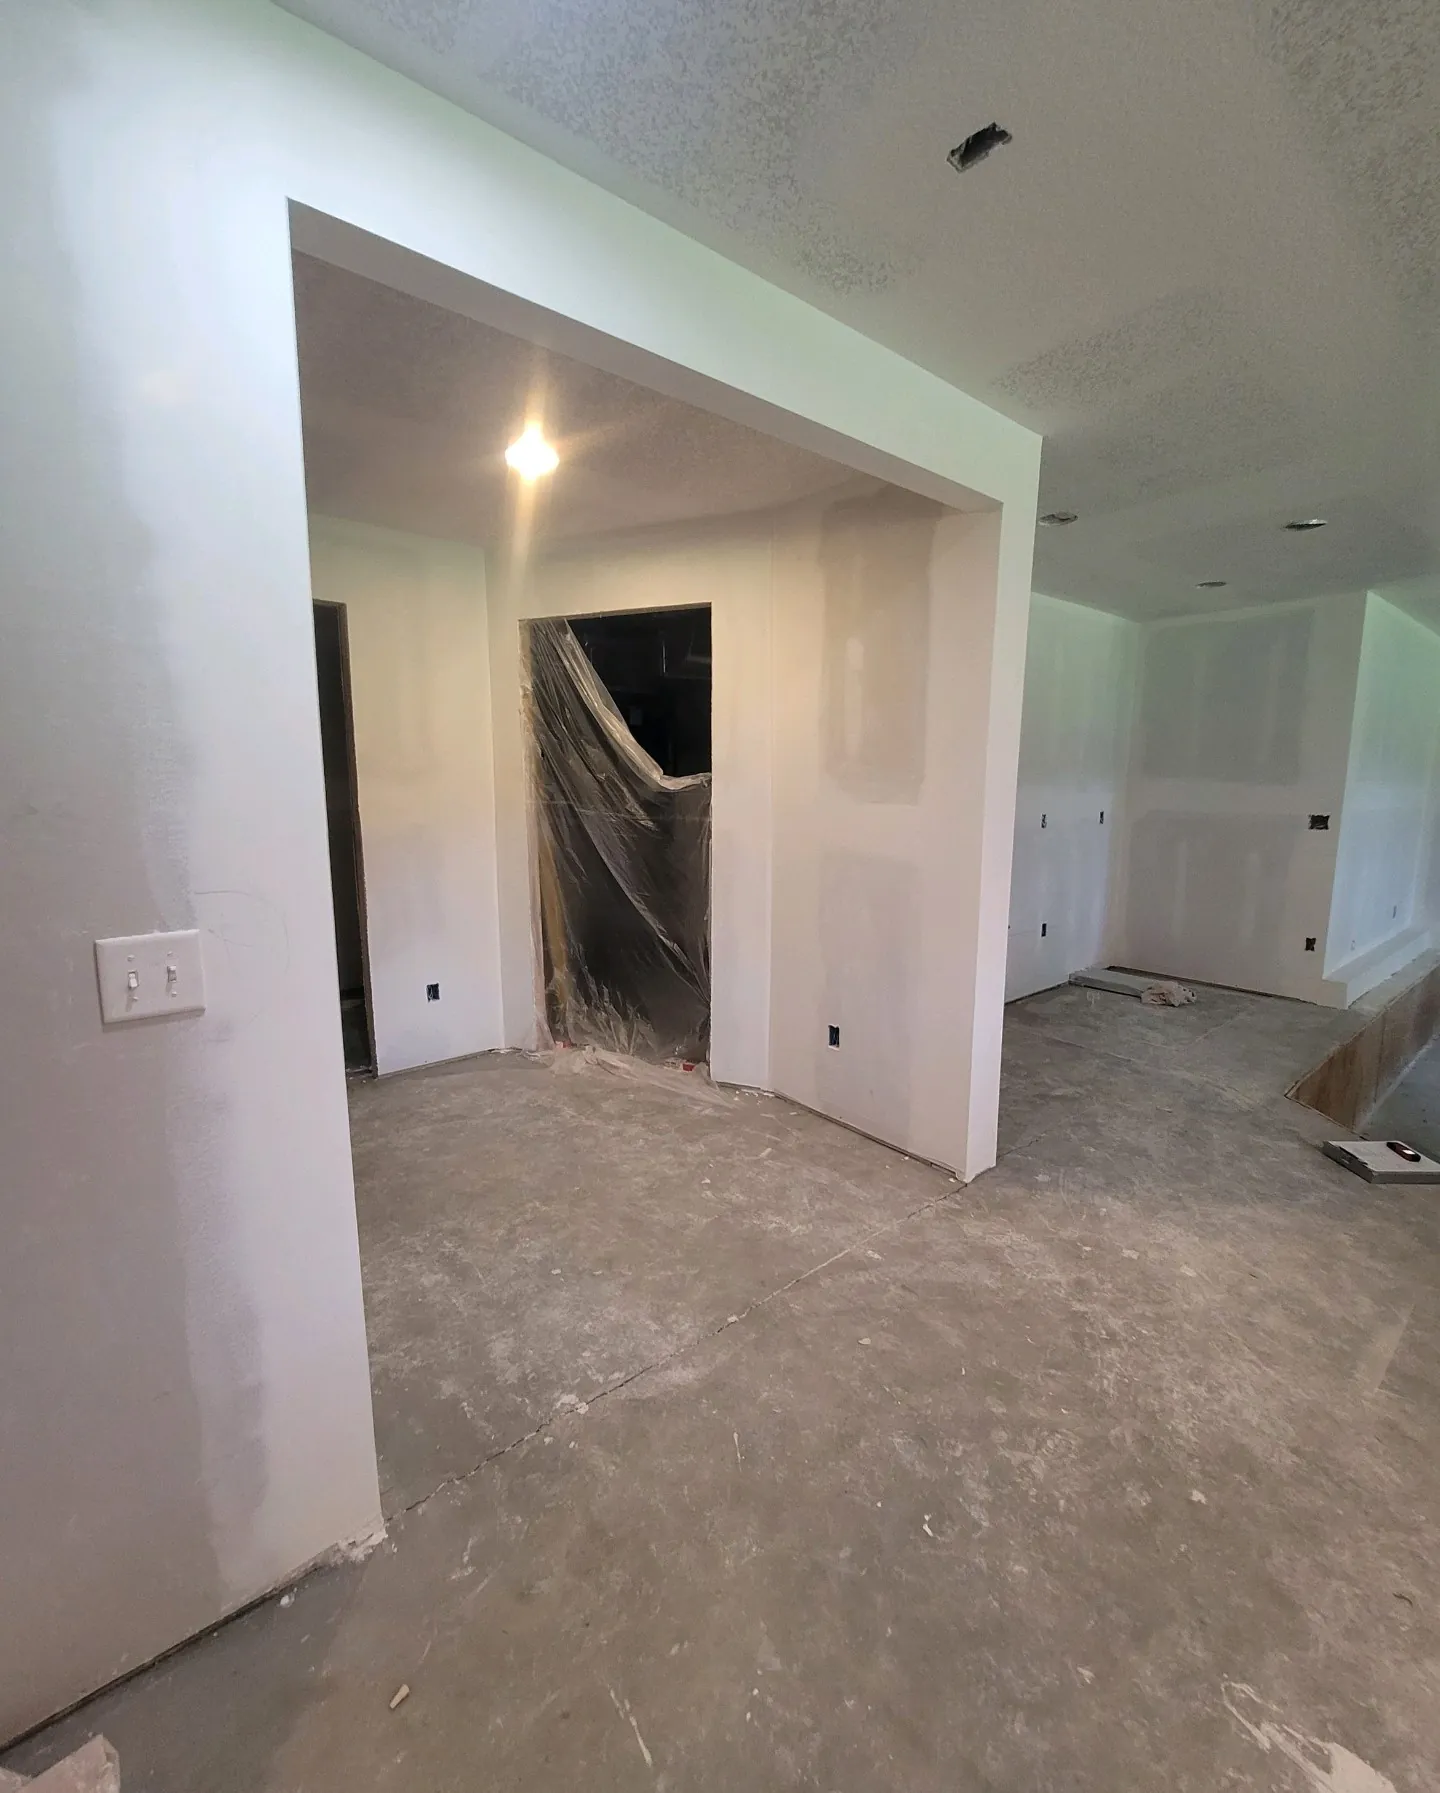
Even experienced DIY painters make mistakes that compromise their results. Knowing what to watch for helps you avoid costly do-overs and achieve the finish you want the first time.
Mistake #1: Skipping or Rushing Preparation
The Problem
Prep work isn't glamorous, but it's responsible for 80% of a great paint job. Rushing this phase leads to:
- Paint peeling within months
- Visible bumps and imperfections
- Poor adhesion
- Uneven coverage
The Fix
Proper wall prep includes:
-
Clean walls thoroughly: Dust, cobwebs, and grime prevent adhesion. Wash with TSP substitute in kitchens and bathrooms.
-
Fill all holes and cracks: Use spackling for small holes, joint compound for larger repairs. Sand smooth when dry.
-
Sand glossy surfaces: Paint won't stick to shiny surfaces. Light sanding creates tooth for new paint.
-
Prime when needed: New drywall, repairs, stains, and dramatic color changes all require primer.
-
Tape carefully: Press edges firmly with a putty knife to prevent bleed-through.
Time investment: Budget 1-2 hours of prep for every hour of painting.
Mistake #2: Using Cheap Tools and Materials
The Problem
Budget brushes, bargain rollers, and discount paint seem like smart savings—until you see the results:
- Brush marks and streaks
- Shed bristles stuck in paint
- Poor coverage requiring extra coats
- Roller marks and uneven texture
- Fading and wear within a year
The Fix
Invest in quality:
-
Brushes: Spend $15-25 for a good angled brush. Clean it well, and it lasts for years.
-
Rollers: Use premium covers ($8-12 each). Cheap covers shed fibers and apply unevenly.
-
Paint: Quality paint covers better (fewer coats), lasts longer, and washes easier. The price difference between cheap and premium is $15-20 per gallon—minimal for vastly better results.
The math: One gallon of premium paint at $55 that covers in 2 coats beats two gallons of cheap paint at $30 each that needs 3 coats.
Mistake #3: Ignoring the Right Conditions
The Problem
Painting in wrong conditions causes immediate or eventual failures:
- Too cold: Paint won't cure properly, stays soft
- Too hot: Dries too fast, shows brush marks, poor leveling
- Too humid: Extends dry time, can cause sagging
- Too dry: Latex paint dries before it levels
The Fix
Ideal painting conditions:
- Temperature: 50-85°F (check paint can for specifics)
- Humidity: 40-70%
- Good ventilation for indoor projects
- Avoid direct sunlight on exterior surfaces
Minnesota-specific tips:
- Winter interior painting works well—low humidity helps drying
- Keep heat consistent during curing (48 hours minimum)
- Summer exterior work: follow the shade around the house
- Spring and fall offer best exterior conditions
Mistake #4: Poor Cutting-In Technique
The Problem
Cutting in—painting edges around trim, ceilings, and corners—often looks amateur because of:
- Wobbly, uneven lines
- Visible brush strokes next to smooth rolled areas
- Lap marks where cut-in areas meet rolled sections
- Different sheen or color intensity at edges
The Fix
Master cutting-in technique:
-
Load brush properly: Dip 1/3 of bristles, tap off excess (don't wipe on can edge)
-
Use the right brush: 2.5" angled brush for most cutting in
-
Start slightly away from edge: Begin stroke 1/4" from trim, then sweep toward it
-
Steady hand position: Rest pinky on wall for stability
-
Work in sections: Cut in 3-4 feet, then roll that section while edges are still wet
-
Maintain wet edge: The key to invisible seams—never let cut-in areas dry before rolling next to them
Practice tip: Painter's tape helps beginners, but proper technique is faster and better long-term.
Mistake #5: Applying Paint Too Thick
The Problem
Thick coats seem efficient but cause multiple issues:
- Drips and sags
- Extended dry times (days instead of hours)
- Cracking as thick paint cures
- Uneven coverage and color
- Wasted paint
The Fix
Thin coats are better:
- Two thin coats always beat one thick coat
- Paint should flow smoothly, not glob
- Reload roller frequently with moderate amounts
- If you see drips forming, you're applying too much
Proper roller technique:
- Load roller evenly in tray
- Roll excess on tray slope
- Apply in W or M pattern
- Fill in with parallel strokes
- Light pressure—let the roller do the work
- Final strokes in one direction for consistent finish
Bonus: The Touch-Up Trap
The Problem
Touch-ups often look worse than the original flaw because:
- Sheen difference between old and new paint
- Color variation (even same paint can batch differs)
- Application method differs from original
- Touch-up area edges are visible
The Fix
- Save original paint: Label with room, date, and color
- Touch up corner-to-corner: Entire wall sections blend better
- Use same applicator: If room was rolled, roll touch-ups
- Feather edges: Blend into surrounding area
- Accept limitations: Some touch-ups require repainting entire wall
When DIY Becomes Frustrating
Painting should be satisfying, not stressful. If your project involves high ceilings, multiple rooms, extensive prep, or quality-critical results, professional painters deliver better outcomes in less time.
Advanced Painting Services helps Twin Cities homeowners with projects of any size. Call 763-290-2786 for a free estimate.
Explore More
Related Articles
You might also like
How to Find and Hire the Best Painting Contractor in White Bear Lake
April 1, 2025
Learn how to identify, vet, and hire exceptional painting contractors in White Bear Lake, Minnesota with this comprehensive guide from industry insiders.
Interior Painting Lino Lakes: Complete Guide to Transforming Your Home
January 17, 2025
Expert interior painting services in Lino Lakes, MN. Learn about costs, color selection, preparation, and why local Lino Lakes painters deliver superior results for your home.
Ready to start your project?
Contact us for a free consultation and estimate for your painting or drywall needs.