
DIY Interior Painting: A Step-by-Step Guide for Minnesota Homeowners
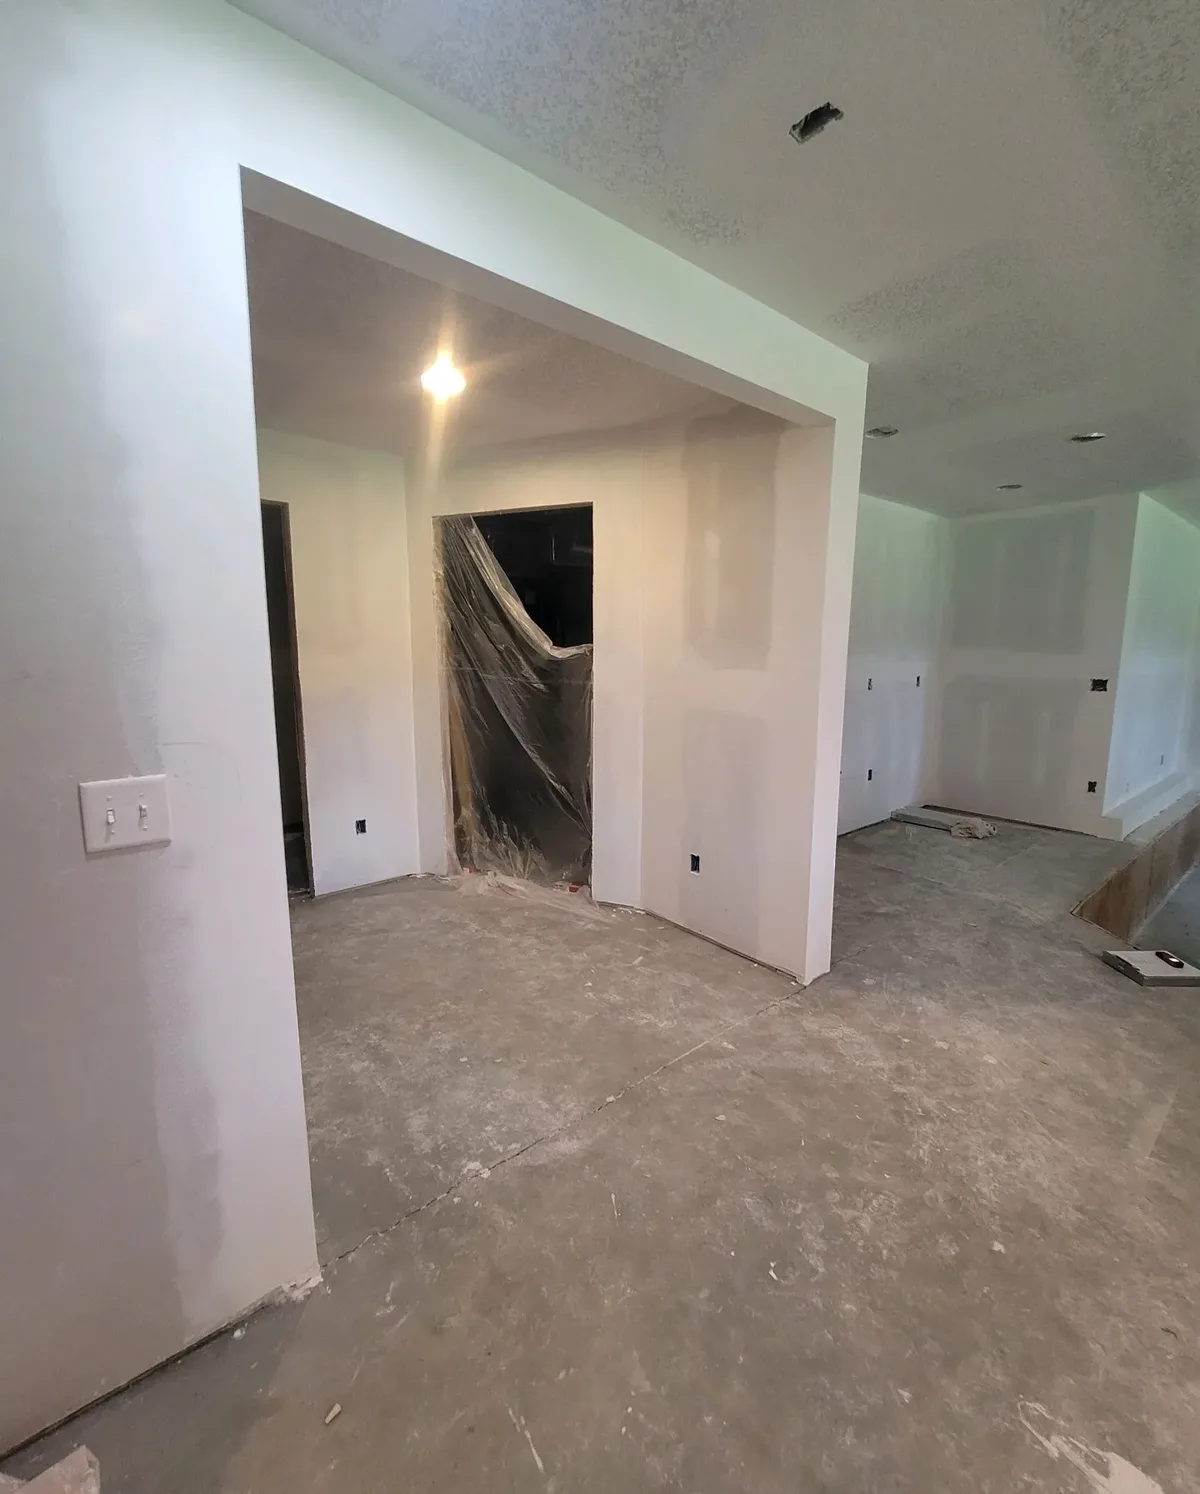
Painting a room yourself can be rewarding and cost-effective—when done right. This guide walks you through every step of a successful DIY interior painting project.
Before You Start: Is DIY Right for This Project?
Good DIY Candidates
- Single rooms or accent walls
- Standard ceiling heights
- Good condition walls (minimal repairs needed)
- Simple layouts without complex trim
- Non-textured ceilings
Consider Hiring Professionals
- Multiple rooms or whole house projects
- High ceilings or stairwells
- Extensive wall repairs needed
- Intricate trim or millwork
- Time constraints
Step 1: Gather Your Supplies
Paint and Primers
- Quality paint: Don't skimp—better paint means better coverage and durability
- Primer: Essential for new drywall, stains, or dramatic color changes
- Calculate quantities: Measure square footage and plan for 2 coats (400 sq ft per gallon typical)
Tools You'll Need
Essential:
- Roller frame and covers (3/8" nap for smooth walls, 1/2" for texture)
- 2-3" angled brush for cutting in
- Paint tray and liners
- Painter's tape (quality matters!)
- Drop cloths
- 5-in-1 tool
- Sanding sponge
- Step ladder
Helpful Additions:
- Extension pole for roller
- Edging tool for ceiling lines
- Paint bucket with pour spout
- Brush spinner for cleaning
Step 2: Prepare the Room
Clear and Protect
- Remove all furniture or move to center and cover
- Take down curtains, artwork, and wall decor
- Remove outlet and switch covers
- Lay drop cloths over floors (tape edges)
Clean the Walls
- Dust with dry cloth or vacuum brush attachment
- Clean greasy areas (kitchen) with TSP substitute
- Let walls dry completely before painting
Repair Imperfections
- Fill nail holes with spackling compound
- Repair larger holes with patch kits
- Sand repairs smooth when dry
- Wipe dust away before priming
Step 3: Tape and Prime
Taping Tips for Clean Lines
- Apply tape to dry, dust-free surfaces
- Press edges firmly with putty knife
- Remove tape while paint is still tacky
- Use quality tape—cheap tape bleeds
Priming Guidelines
Always prime:
- New drywall or patches
- Over dark colors when going light
- Stained or smoke-damaged areas
- Bare wood trim
Can skip primer:
- Repainting similar colors
- Using paint-and-primer combo on good surfaces
Step 4: Cut In First
The Cutting In Process
- Load brush about 1/3 up bristles
- Tap off excess (don't wipe)
- Paint 2-3" band around edges, corners, and trim
- Work in 3-foot sections
- Keep wet edge—don't let cut lines dry before rolling
Pro Tips
- Paint with the grain of your brush strokes
- Angle brush at 45 degrees to wall
- Work top to bottom to catch drips
- Maintain consistent pressure
Step 5: Roll the Walls
Loading the Roller
- Pour paint into tray (fill reservoir, not slope)
- Dip roller into paint
- Roll on slope to distribute evenly
- Roller should be fully saturated but not dripping
Rolling Technique
- Start with W or M pattern on wall
- Fill in the area with parallel strokes
- Use light pressure—let paint do the work
- Overlap cut-in areas while still wet
- Roll in final direction (usually up) for consistent finish
Section Strategy
- Work in 4x4 foot sections
- Maintain wet edge always
- Complete one wall before starting next
- Don't stop mid-wall for breaks
Step 6: Apply Second Coat
Waiting Time
- Check paint can for recoat time (typically 2-4 hours)
- In Minnesota's humidity, may need longer in summer
- Surface should feel dry, not tacky
Second Coat Application
- Repeat cutting in and rolling process
- Light sand between coats only if needed for imperfections
- Second coat typically goes faster with better coverage
Step 7: Finishing Touches
Remove Tape Properly
- Pull at 45-degree angle
- Remove while paint is tacky (not fully dry)
- Score edge with razor if paint bridges tape
- Touch up any bleed spots with small brush
Cleanup
- Wash brushes and rollers thoroughly
- Seal leftover paint for touch-ups
- Store in temperature-controlled area (not freezing garage!)
- Label cans with room and date
Common DIY Mistakes to Avoid
- Skipping prep: Proper prep is 80% of a good paint job
- Cheap tools: Quality brushes and rollers make huge difference
- Rushing coats: Let paint dry fully between coats
- Overloading brush/roller: Leads to drips and uneven coverage
- Painting in poor conditions: Too hot, cold, or humid affects results
When to Call Advanced Painting Services
DIY painting works great for simple projects, but larger jobs often benefit from professional expertise. We're here to help with projects that exceed comfortable DIY scope.
Call 763-290-2786 for free estimates on your painting project.
Explore More
- Interior Painting Services
- Interior Painters Near Me
- Exterior Painting
- Cabinet Refinishing
- View Our Project Gallery
Get a Free Interior Painting Estimate | Schedule an Appointment
Related Articles
You might also like
How to Maintain Painted Surfaces So the Paint Job Lasts
September 29, 2026
A paint job wears out where it gets touched and where water gets in. Cleaning routines, twice-a-year inspections, moisture control, and a seasonal checklist for Minnesota homes.
Why Surface Preparation Decides How Long Your Paint Job Lasts
September 29, 2026
Paint fails at the surface, not in the can. How cleaning, repairs, sanding, and priming affect paint durability inside and outside your Minnesota home.
Ready to start your project?
Contact us for a free consultation and estimate for your painting or drywall needs.