
Wallpaper Removal & Texture Matching: Twin Cities Guide
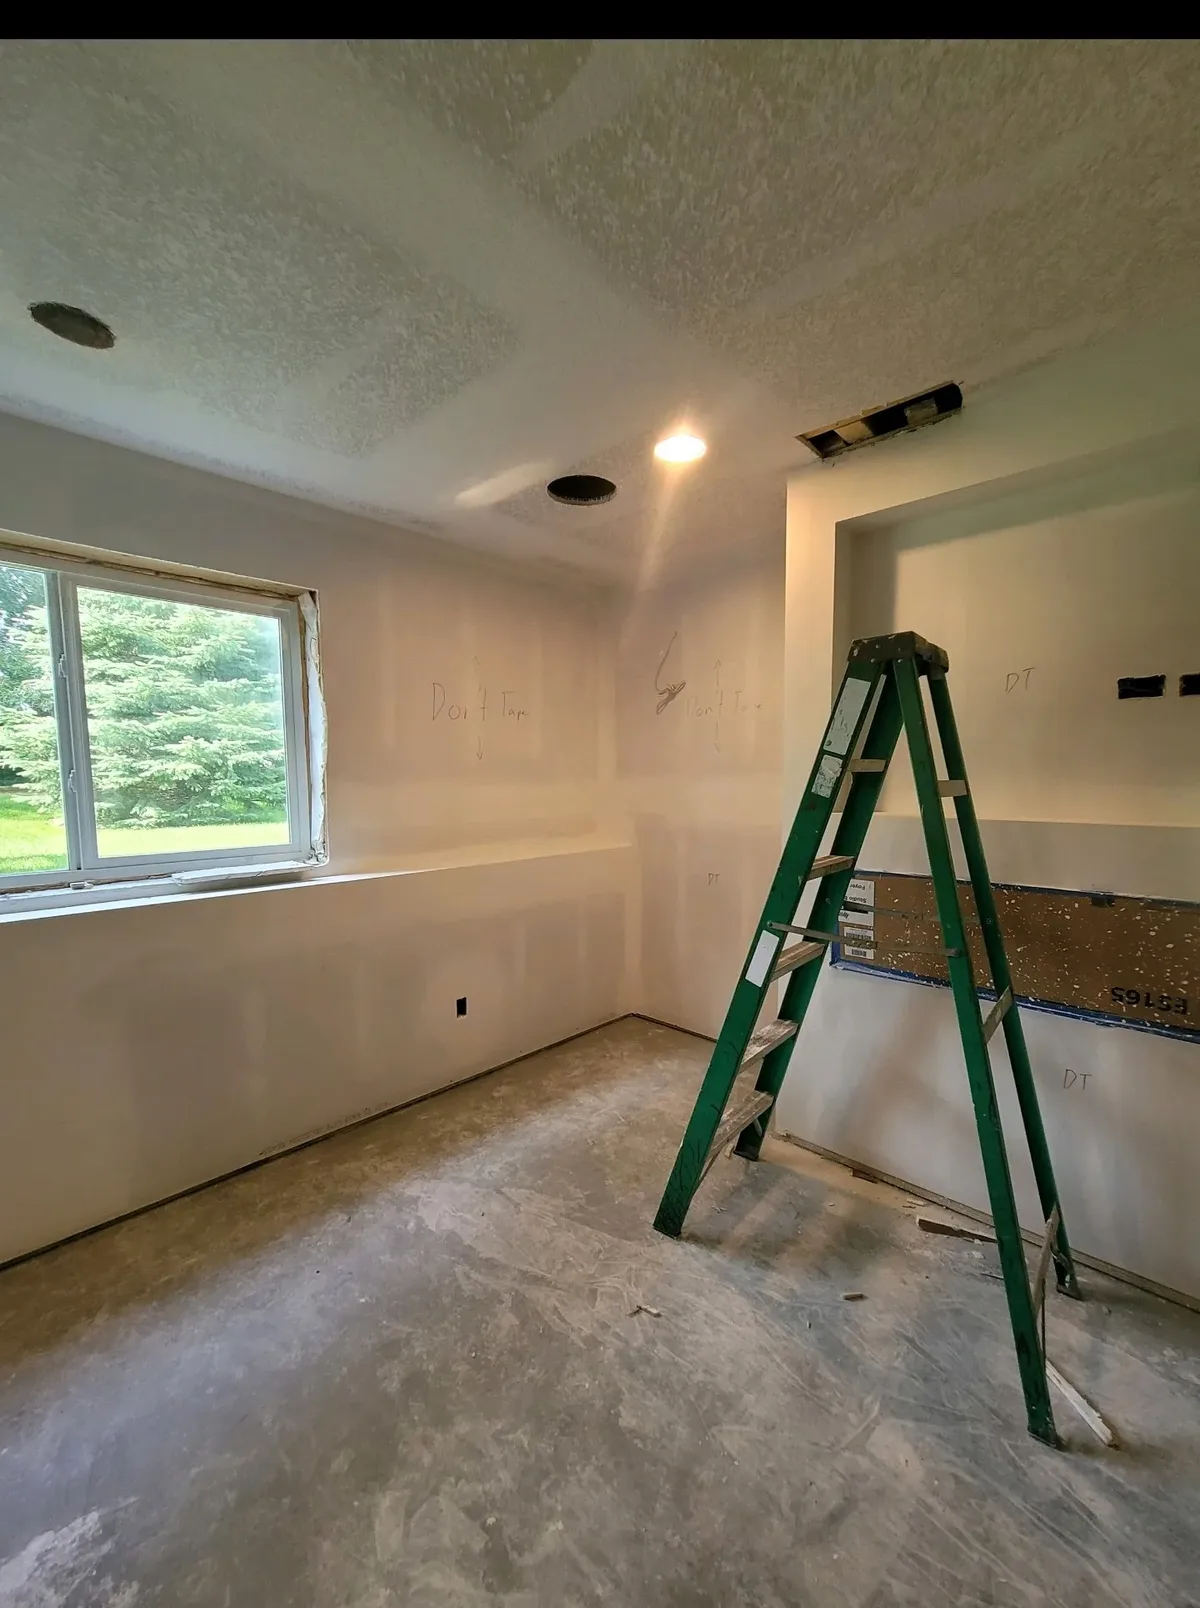
Wallpaper removal and texture matching belong in the same plan when you want a room ready for repainting. Removing the covering reveals the actual wall condition; only then can you decide whether to keep it smooth, repair isolated textured areas or refinish a larger surface. Here is how to plan that sequence in Shoreview, Minneapolis, St. Paul and the Twin Cities.
Wallpaper removal: inspect a small area first
Before stripping a whole room, test an inconspicuous area to see how the covering releases and whether the drywall facing stays intact. Multiple layers, painted wallpaper and an unsealed wall underneath can change the work involved. Protect floors and trim, and arrange safe protection around electrical outlets before any wet work.
Follow the removal product's instructions rather than repeatedly soaking the wall. If drywall paper begins lifting with the wallpaper, stop and reassess the method. Pulling harder can turn a removal job into a larger wall repair.
For wallpaper removal in Minneapolis and the Twin Cities, discuss removal, adhesive cleanup, repairs and repainting together at the estimate. They are separate steps, not interchangeable descriptions of the same work.
Wall repair after wallpaper removal
Once the covering is off, remove remaining adhesive using a method appropriate for the substrate and let the wall dry. Do not hide glue under finish paint or start skim coating over loose wallpaper. Check for torn facing, ridges, old patches and stains after drying, when surface defects are easier to judge.
Loose or damaged drywall paper needs an appropriate repair and sealing approach before compound is applied. Active dampness or a recurring stain needs its cause addressed first. For cracks, our drywall crack repair guide explains why the cause and stability matter before cosmetic work begins.
A few defects may need local repairs. Widespread damage may make a broader skim coat more practical. Ask which approach is included in your drywall repair estimate, rather than assuming all wall preparation is covered by the word “painting.”
How to match wall texture around a repair
Look at the surrounding finish in daylight and side lighting. Orange peel, knockdown and smooth walls need different approaches. Texture matching means comparing the pattern, size, depth and spacing of the existing finish—not just adding bumps to a flat patch.
- Prepare the repair first. Stabilize the damaged area and finish the patch so its edges do not leave a raised outline.
- Practice off the wall. Use scrap drywall to compare the texture method and pattern with the existing surface.
- Blend beyond the patch. A hard-edged rectangle is often more noticeable than a gradual transition into the surrounding finish.
- Allow proper drying. Follow the compound and texture product instructions before priming or painting.
- Check the painted result. Primer, paint sheen and side lighting all affect whether the repair still stands out.
For individual techniques, use the existing how to match wall texture guide. For service options, see wall and ceiling texturing. A local blend is not always invisible; ask whether refinishing or repainting the full wall would produce a more consistent result.
Real Twin Cities drywall project photos
These are the same real project photos used in our drywall repair guide. They show taping, preparation and installation—not a wallpaper-removal before-and-after or proof of a texture match.
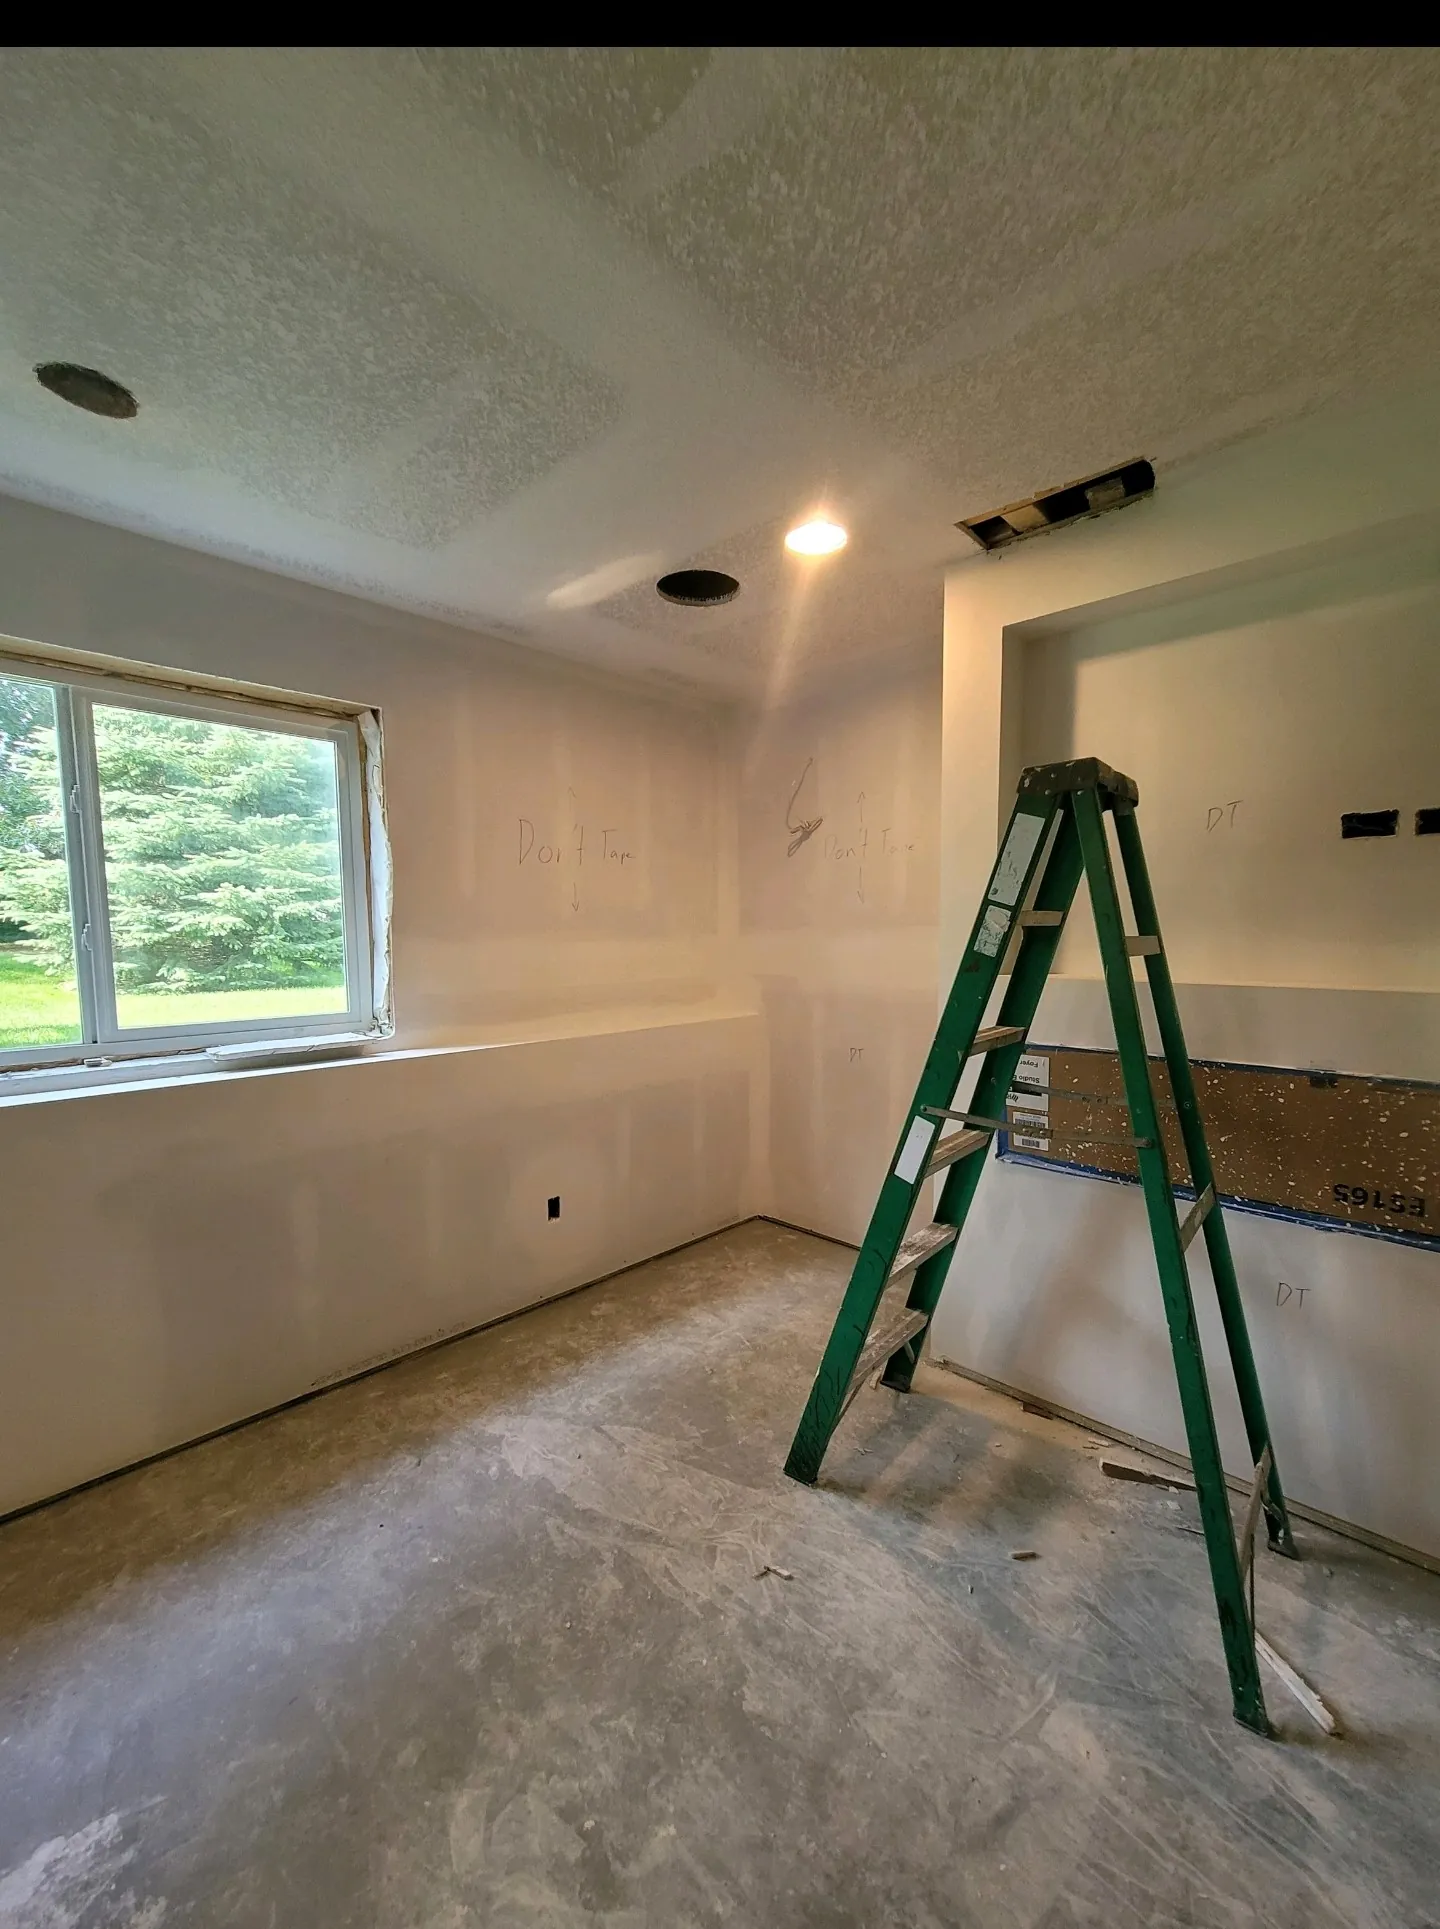
Fridley: Drywall taping and mudding. The article's opening photo shows this same preparation work.
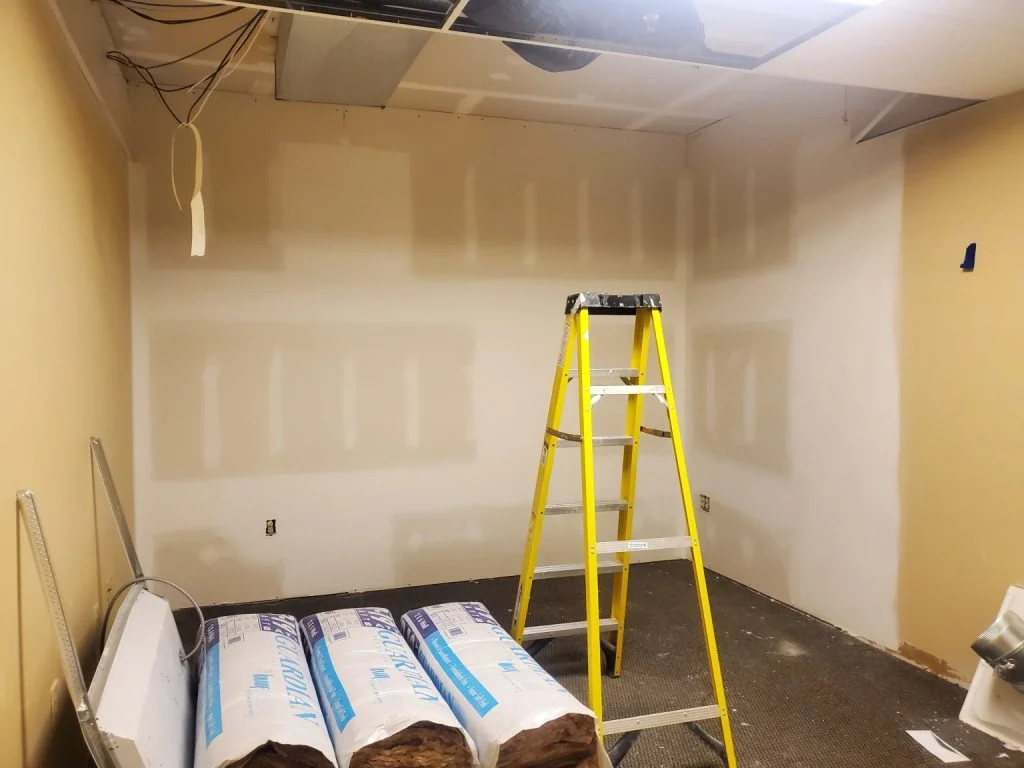
Vadnais Heights: Basement drywall preparation before the finish stages.
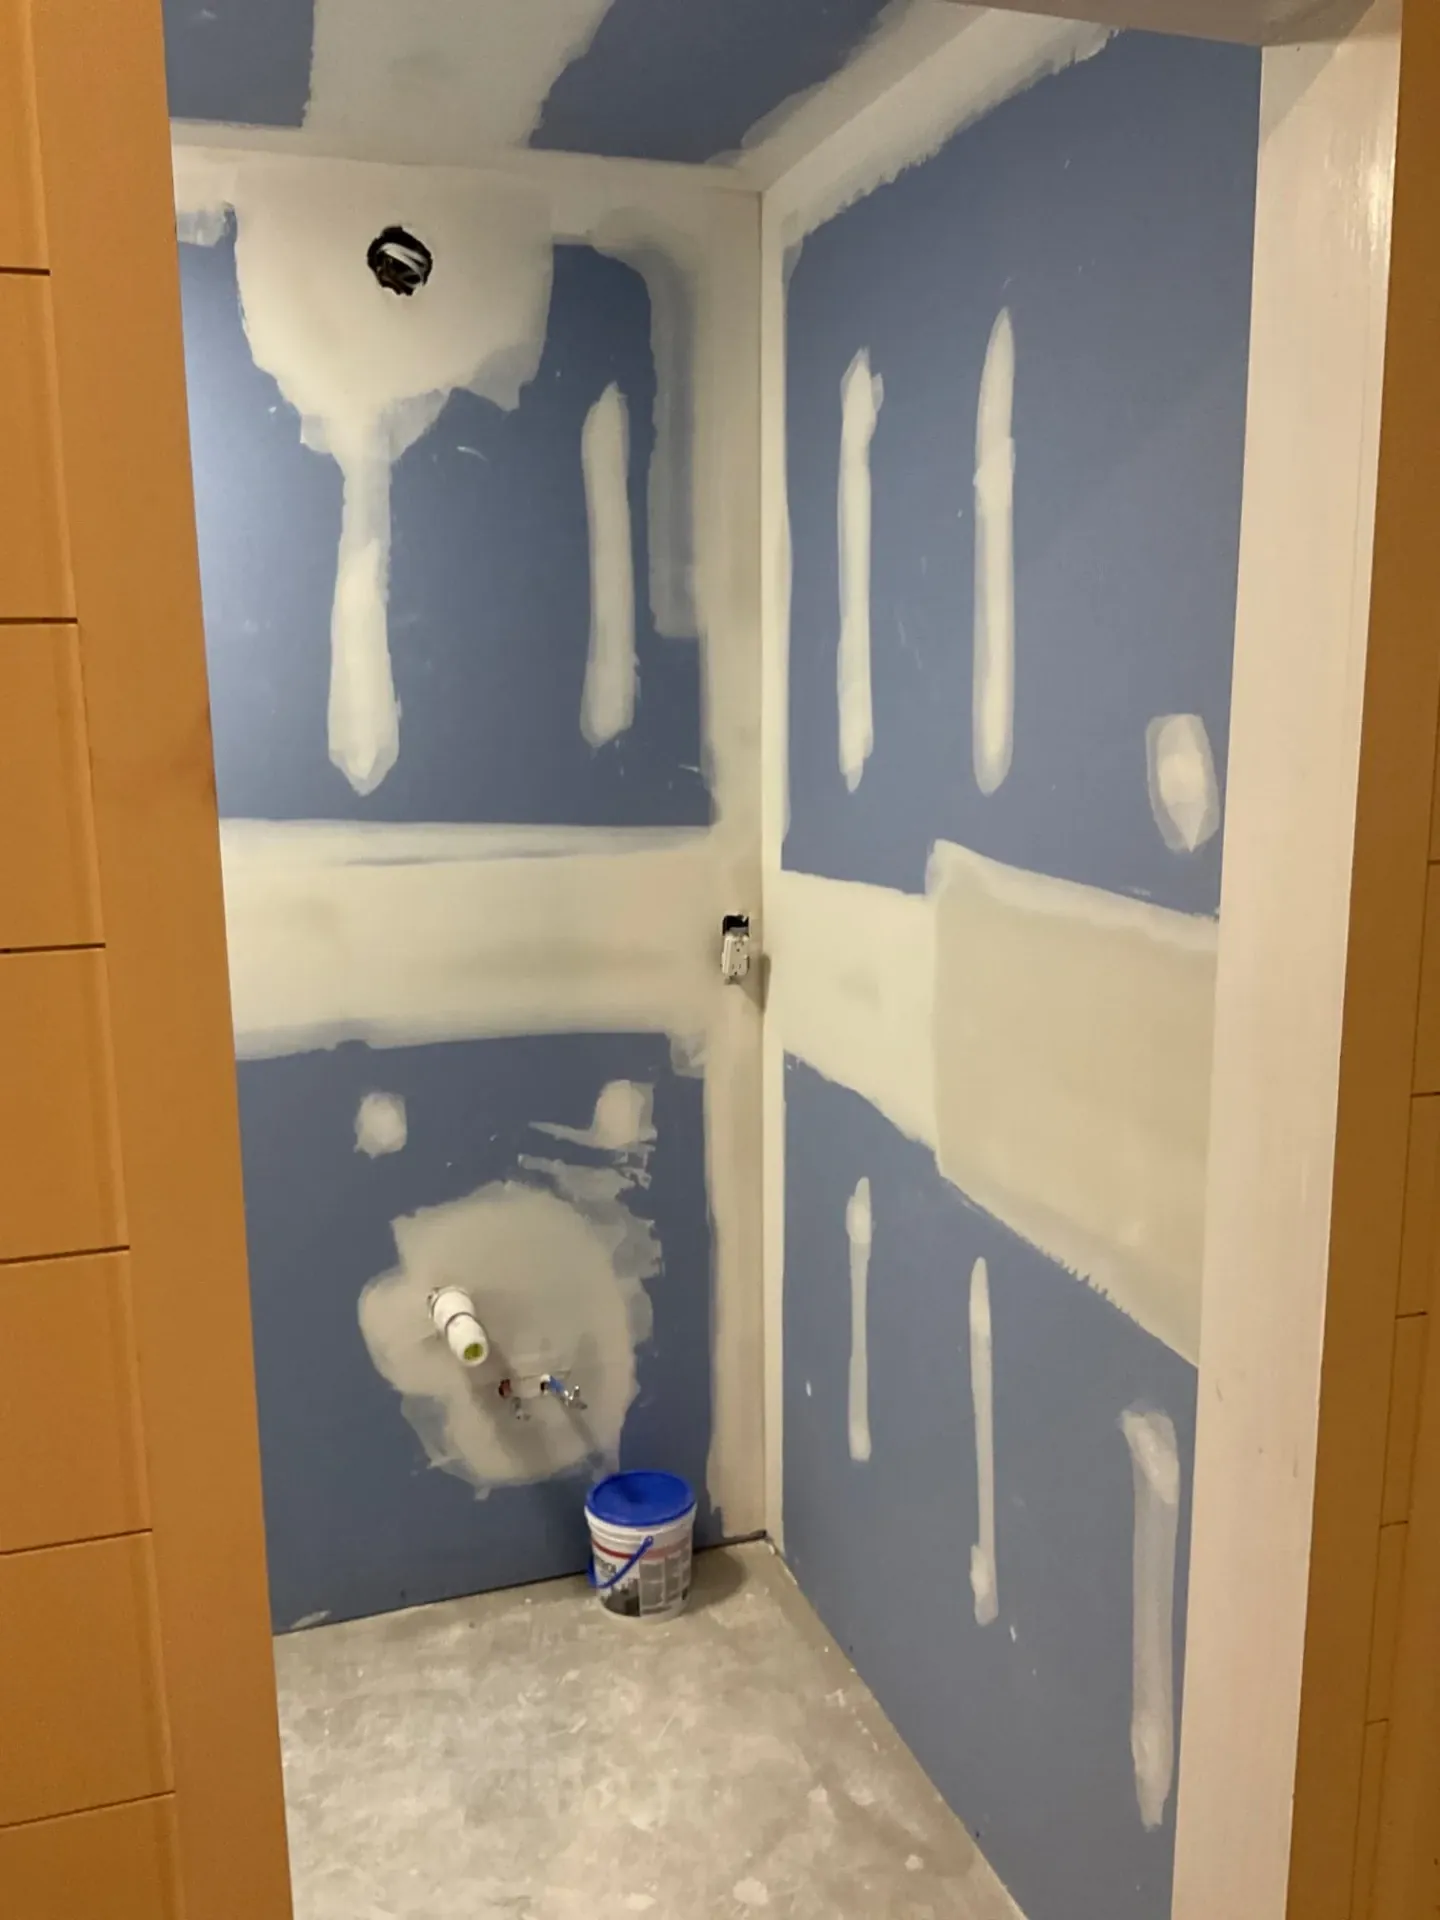
Shoreview: Bathroom drywall installation. View more documented work in our project gallery.
Prime and repaint after the wall is ready
Primer selection depends on the actual wall surface, repaired facing, remaining stains and planned finish. Allow repairs to dry and remove preparation dust before applying a compatible primer. Finish paint is not a substitute for adhesive removal or a sound repair.
Spot painting can leave a sheen or color difference even when the texture is close. Discuss a corner-to-corner repaint as part of the interior painting scope. In winter, plan suitable indoor temperature and ventilation according to the selected coating's instructions.
Older surfaces need a safety check
Homes built before 1978 may contain lead paint. Ask about testing and applicable safety requirements before scraping or sanding old coatings. Unknown older ceiling textures can also require assessment before disturbance; this wall-preparation guide is not an instruction to scrape an untested ceiling. See our lead-safe painting information and the EPA's lead guidance.
Get a Free Estimate for wall preparation
Tell Cody which rooms have wallpaper, whether the surrounding walls are smooth or textured, and whether painting is included. An on-site estimate can separate covering removal, glue cleanup, drywall repairs, texture work, primer and finish paint without guessing at the hidden surface.
Cody estimates every project, is on site for the work, and completes the final walkthrough. Owner-operated. Never subcontracted.
You might also like
Twin Cities Home Improvement Tips: Before You Paint
October 20, 2026
Plan a Twin Cities room refresh: check wall cracks, remove wallpaper residue, match texture and measure paint before repainting. Call Cody: (763) 290-2786.
How to Match Wall Texture on a Drywall Repair
January 5, 2026
Learn how to repair wall texture and fix textured walls with our step-by-step guide. Match orange peel, knockdown, skip trowel, and more for invisible drywall texture repairs.
Ready to start your project?
Contact us for a free consultation and estimate for your painting or drywall needs.