
Water-Damaged Drywall: When to Patch It and When to Replace It
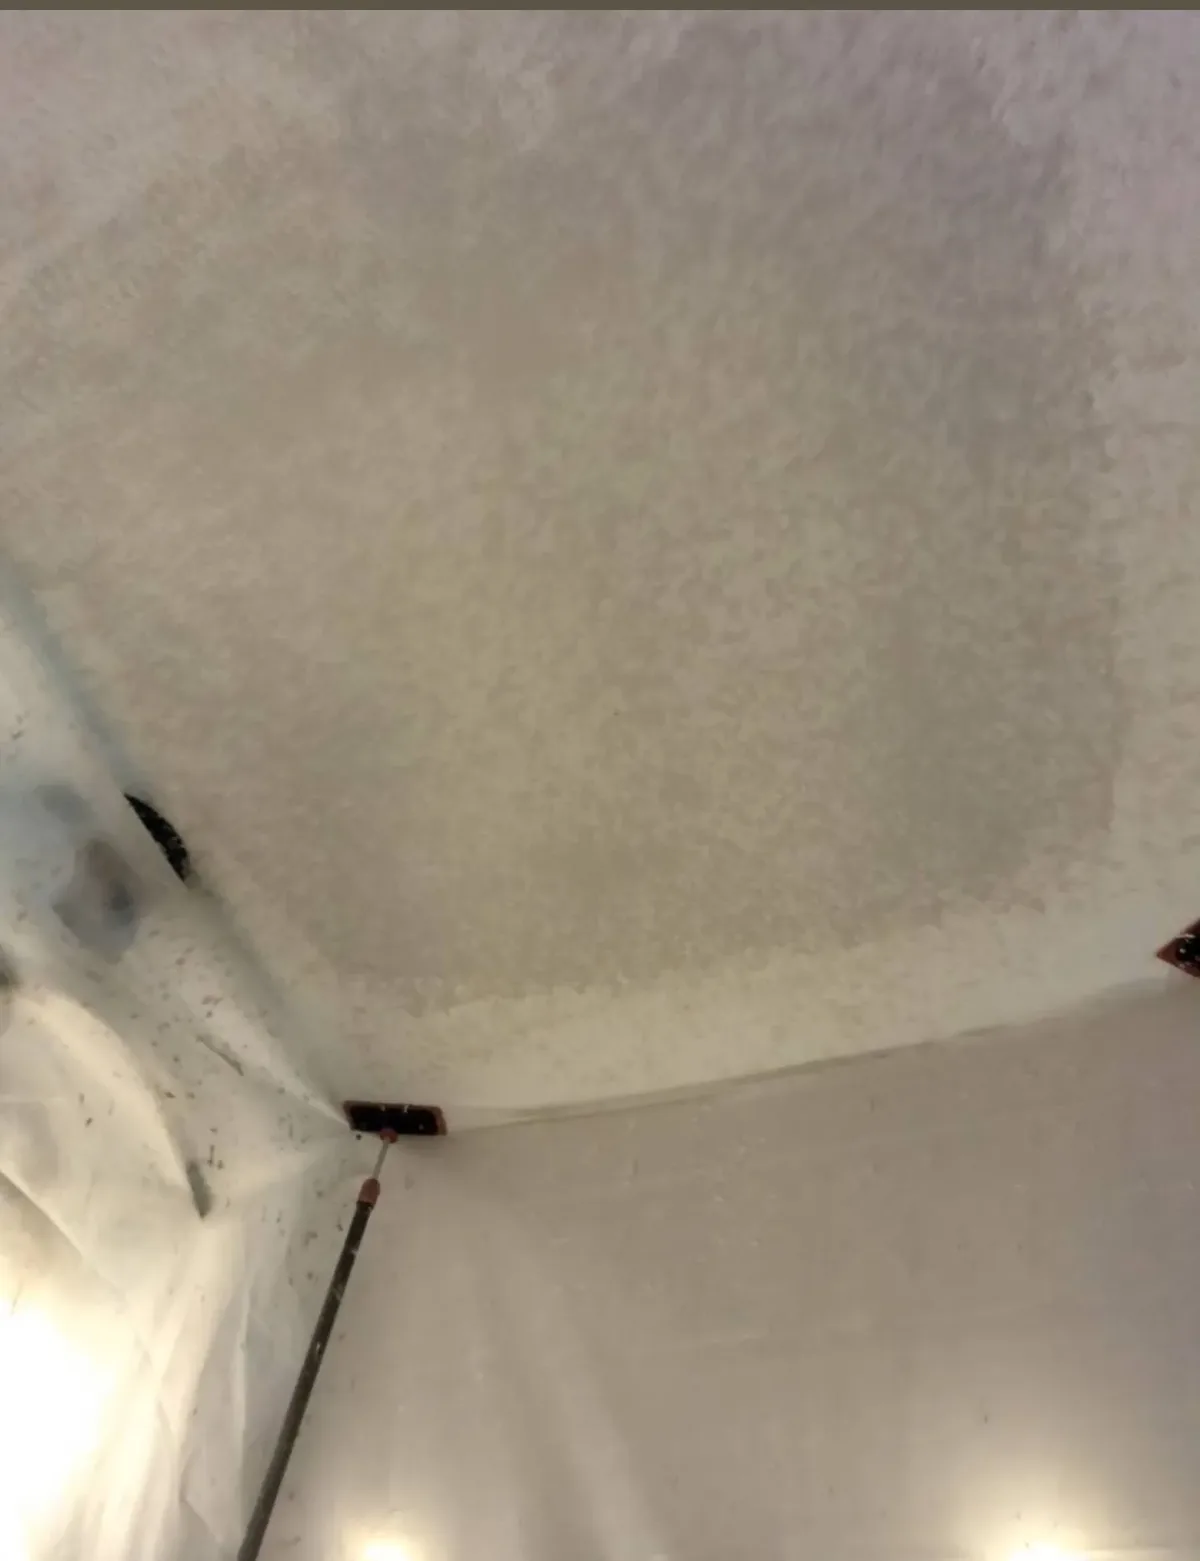
A brown ring on the ceiling. A soft spot near the baseboard. A bubble in the paint after a heavy rain. Water-damaged drywall is one of the most common repair calls I get across the Twin Cities — and the first question is always the same: can this be patched, or does it need to be replaced? Here's how I make that call, and what you should know before anyone starts cutting.
First Things First: Fix the Source
No drywall repair matters until the water source is fixed. Whether it's a roof leak, a plumbing issue, ice dam damage, or condensation, the leak has to be stopped and the area fully dried before any repair begins. Painting over an active leak just buys you the same stain again in a month.
If you're not sure where the water came from, solve that mystery first — a plumber or roofer may need to go before I do.
When a Patch (or Simple Repair) Works
Stains on Sound Drywall
If the drywall is still firm — no softness, no sagging, no crumbling — the damage is often cosmetic. The fix:
- Confirm the area is completely dry
- Apply a stain-blocking primer (this step is not optional — water stains bleed through regular paint)
- Touch up the texture if needed
- Repaint the section, feathering into the surrounding area
Small Localized Damage
A soft spot smaller than your hand, or damage limited to one seam, can often be cut out and patched with a new piece of drywall, tape, and compound. Done right, the repair disappears.
When Replacement Is the Right Call
Sagging or Crumbling Drywall
Once drywall has absorbed enough water to sag, swell, or crumble, its structure is gone. Patching compound can't fix gypsum that's lost its integrity — the section needs to come out.
Widespread Damage
If water ran down a wall or spread across a ceiling, the damaged area is often bigger than what you can see. Water travels along seams and framing. I cut back to dry, solid material — sometimes that's a two-foot square, sometimes it's a full sheet.
Mold Concerns
Drywall that's been wet for more than a day or two can grow mold, especially inside wall cavities. If there's any musty smell or visible growth, the affected material should be removed, the cavity dried and treated, and new drywall installed. Covering mold with paint is never the answer.
Insulation Behind the Damage
Exterior walls and ceilings below attics usually have insulation behind the drywall. Wet insulation loses its effectiveness and holds moisture against the framing. Replacement lets us check and replace insulation while the wall is open.
The Repair Process, Done Right
- Verify dryness — moisture meter, not guesswork
- Cut out damaged material back to solid, dry drywall and sound framing
- Inspect the cavity — check insulation, framing, and for any sign of mold
- Hang and tape new drywall — screwed, taped, and coated in multiple passes
- Match the texture — the step that separates invisible repairs from obvious patches
- Prime with stain blocker and paint to match
Texture matching is where most DIY repairs fall apart. Orange peel, knockdown, and skip-trowel textures each take specific tools and technique. Matching an existing texture so the repair vanishes is a skill that takes years to develop.
Minnesota's Usual Suspects
In our climate, water damage usually traces back to a handful of causes:
- Ice dams forcing meltwater under shingles and into ceilings
- Attic condensation from poor ventilation during deep cold
- Burst or sweating pipes during January cold snaps
- Failed caulk and flashing around windows and tubs
If your damage showed up in late winter, ice dams or attic condensation are the likely culprits — and both will return next year if the underlying issue isn't addressed.
Frequently Asked Questions
Can I just paint over a water stain?
Not with regular paint — the stain will bleed through, sometimes within days. A stain-blocking primer seals it, but only after the source is fixed and the drywall is confirmed dry and sound.
How long does drywall need to dry before repair?
It depends on how wet it got. A small leak might dry in a few days with fans; a soaked wall can take weeks. I check with a moisture meter rather than guessing — repairing damp drywall traps moisture and guarantees mold.
Will the repair be visible?
Not when it's done right. Proper taping, multiple finish coats, careful texture matching, and stain-blocking primer make the repair disappear. That's the standard I hold every job to at the final walkthrough.
Do you handle the painting after the repair?
Yes — every drywall repair I do includes priming and painting to match the surrounding surface. You won't need a second contractor to finish the job.
Get It Fixed Right the First Time
At Advanced Painting Services, I estimate every project, I'm on site for the work, and I complete the final walkthrough — no subcontractors. Water damage is stressful enough without worrying whether the repair will hold.
Call or text Cody at 763-290-2786 for a free on-site estimate.
Explore More
Ready to start your project?
Contact us for a free consultation and estimate for your painting or drywall needs.