How to Fix Textured Walls: Complete Repair Guide for Minnesota Homeowners
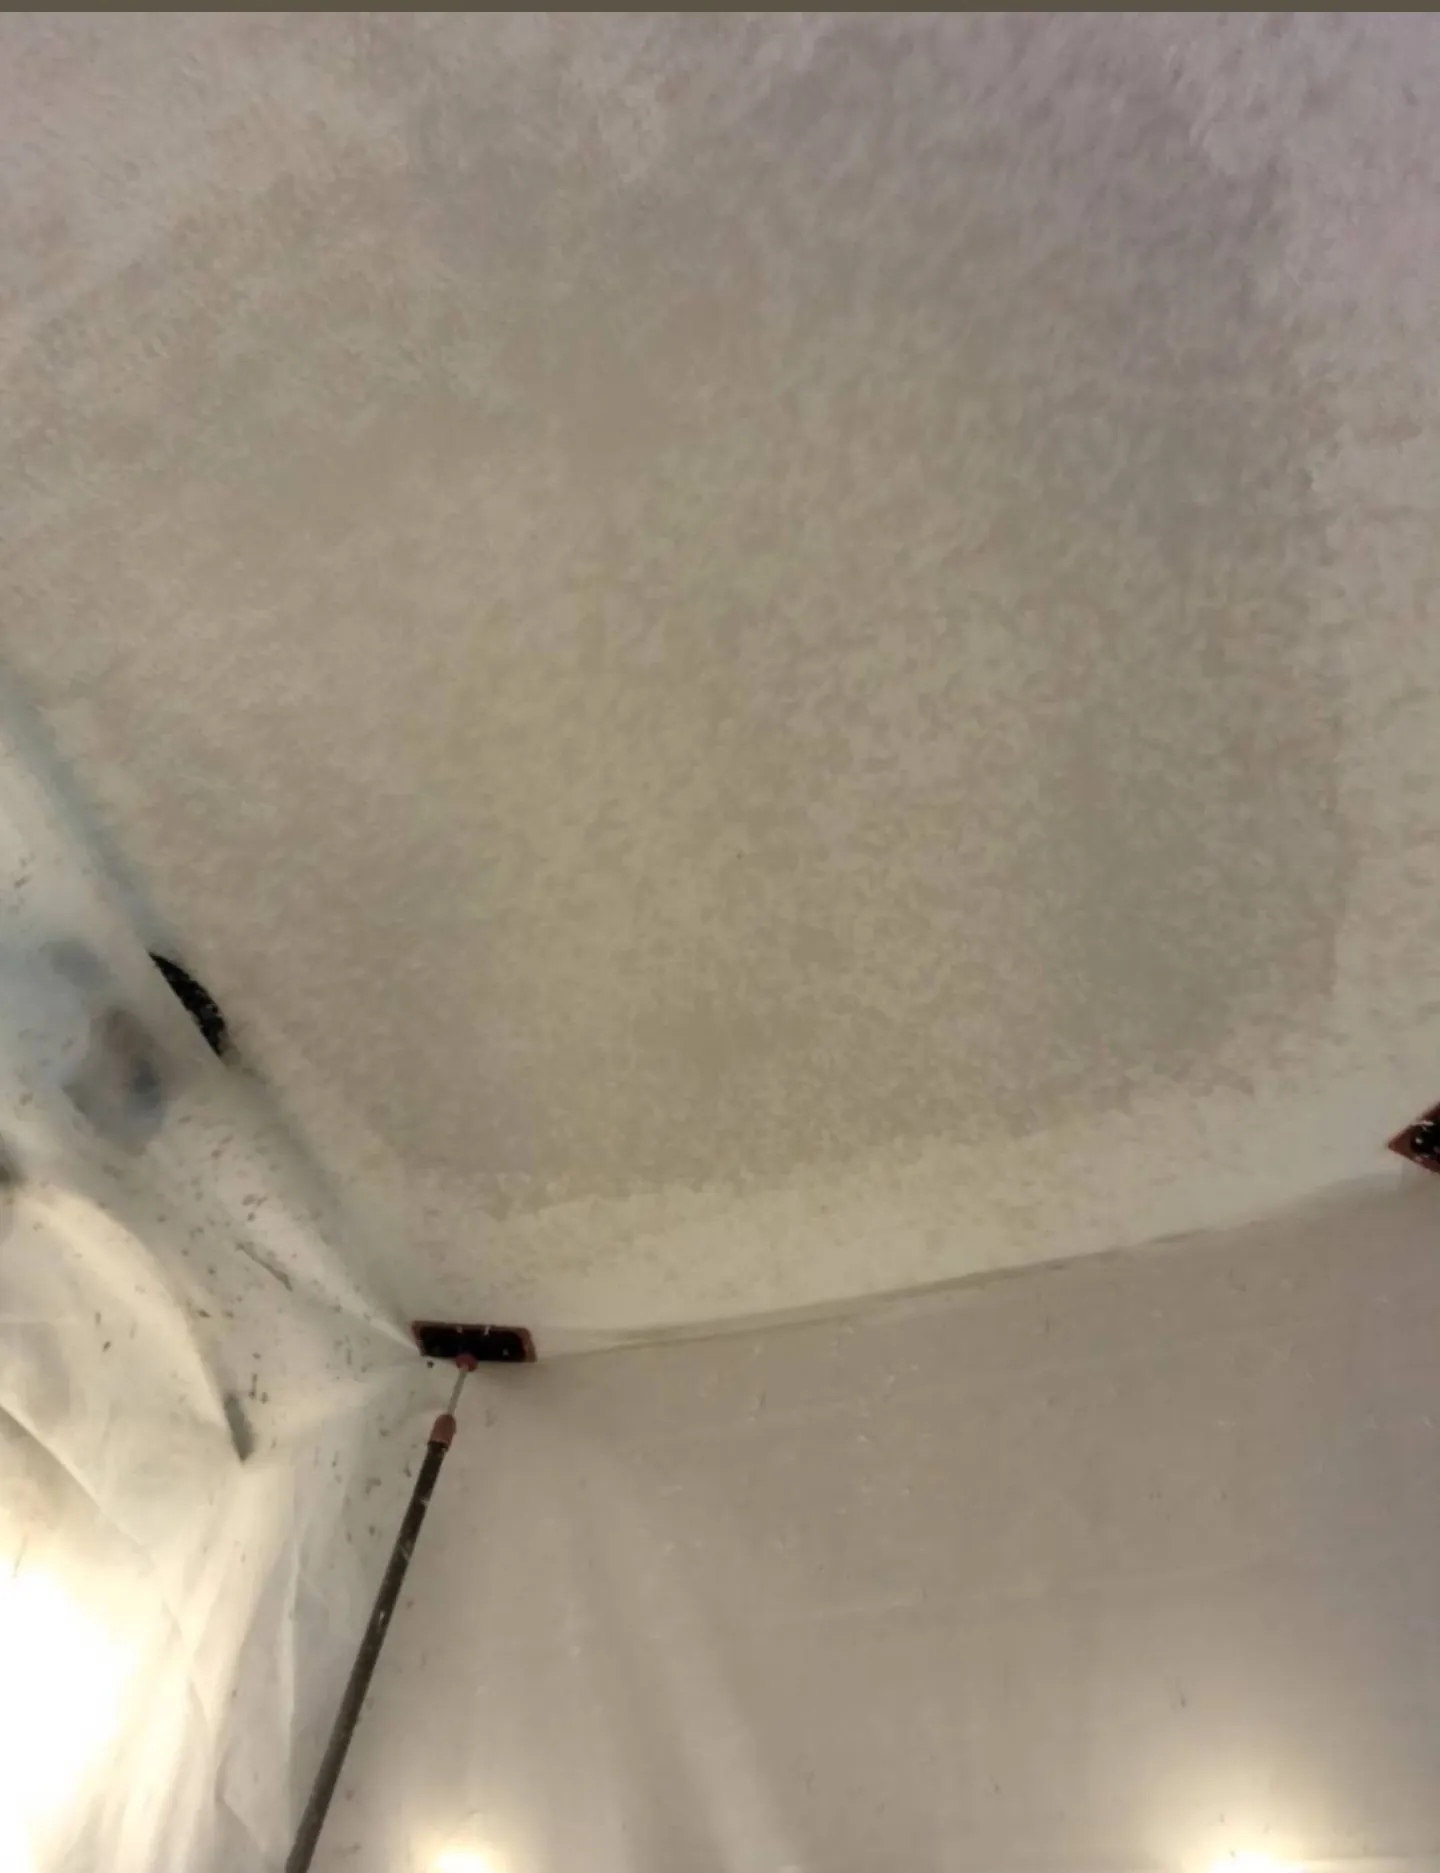
Textured walls are the standard in most Minnesota homes, but damage from everyday life—doorknob dings, furniture scuffs, plumbing access holes, and water stains—can leave your textured surfaces looking rough. Here's your complete guide to fixing textured walls and making repairs disappear.
Assessing the Damage
Before you start, determine the type and extent of your wall damage:
Small Damage (Under 2 inches)
- Nail holes, small dents, minor scuffs
- Fix time: 30 minutes plus drying
- Difficulty: Easy
Medium Damage (2-6 inches)
- Doorknob holes, larger dents, small cracks
- Fix time: 1-2 hours plus drying
- Difficulty: Moderate
Large Damage (Over 6 inches)
- Plumbing/electrical access patches, water damage, large holes
- Fix time: Multiple sessions over 2-3 days
- Difficulty: Advanced (consider professional help)
Tools and Materials You'll Need
For the Repair
- Drywall patch kit or drywall piece
- Self-adhesive mesh tape
- All-purpose joint compound (pre-mixed)
- Setting-type compound (for faster work)
- 6" and 12" drywall knives
- 220-grit sandpaper
- Sanding sponge
- Drywall saw (for larger patches)
For Texture Matching
- Aerosol wall texture spray (for small areas)
- Hopper gun + air compressor (for larger areas)
- Knockdown knife (18-24")
- Practice cardboard
- Primer
Step 1: Repair the Drywall
Small Holes (Nail/Screw Holes)
- Apply lightweight spackle directly with a putty knife
- Scrape flush with the wall surface
- Let dry 30 minutes
- Sand lightly with 220-grit
Medium Holes (Doorknob/Fist Size)
- Clean loose edges around the hole
- Apply self-adhesive mesh patch over the hole
- Apply first coat of joint compound — thin and wide
- Let dry 24 hours
- Apply second coat, feathering edges 6-8 inches beyond the first
- Dry and sand smooth
- Apply third coat if needed for a flat surface
Large Holes (6+ Inches)
- Cut a clean rectangle around the damage with a drywall saw
- Cut a patch piece of drywall to fit
- Install backing strips (wood or drywall clips)
- Screw patch into backing
- Tape all seams with paper or mesh tape
- Apply three coats of compound, feathering wider each time
- Sand smooth between coats
Step 2: Prime the Repair
This step is critical. Bare joint compound absorbs paint and texture differently than the surrounding wall. Without primer:
- Texture won't adhere properly
- Paint color will appear different over the patch
- The repair will always be visible
Use a PVA drywall primer on all repaired areas. Let it dry completely.
Step 3: Match the Texture
Identifying Your Existing Texture
Minnesota homes commonly have these textures:
Orange Peel — Small, rounded-sm bumps like citrus skin. Very common in homes built 1980s-present.
Knockdown — Flattened splatter pattern. Popular in 1990s-2010s Minnesota construction.
Smooth — No texture, common in older Twin Cities homes and high-end new builds.
Popcorn/Acoustic — Bumpy ceiling texture, common 1950s-1980s. May contain asbestos pre-1980.
Stomp Brush — Repeating pattern from a specialty brush.
Matching Orange Peel Texture
Small repairs (under 12 inches):
- Use aerosol texture spray (Homax or equivalent)
- Shake can for 3 minutes
- Test spray on cardboard first — adjust nozzle to match
- Hold can 12-18 inches from wall
- Apply light coats, building to match
- Feather beyond the repair edges
Larger repairs:
- Mix joint compound to thick pancake batter consistency
- Load hopper gun and adjust air pressure
- Practice extensively on cardboard
- Spray the repair area, overlapping onto existing texture
- Let dry and prime/paint
Matching Knockdown Texture
- Apply orange peel texture first (spray method)
- Wait 10-20 minutes — mud should be firm but not dry
- Test: texture shouldn't stick to your knockdown knife
- Gently flatten with knockdown knife in single passes
- Match the flatness of surrounding texture
- Clean knife between passes
Critical timing tip: Too soon = smearing. Too late = tearing. Practice on cardboard until you nail the timing.
Matching Smooth Walls
- Apply thin skim coat of joint compound over repair
- Sand with 220-grit when dry
- Apply second skim coat
- Sand to mirror-smooth finish
- Prime and paint
Step 4: Prime and Paint
- Prime the textured repair with the same PVA primer
- Paint a larger area than just the repair — blend into surrounding wall
- Use the same paint sheen as existing walls
- Apply two coats for even coverage
Minnesota-Specific Tips
Humidity and Drying
Minnesota's indoor humidity varies dramatically:
- Winter (10-20% humidity): Compound dries fast but may crack. Apply thinner coats.
- Summer (50-80% humidity): Allow extra drying time between coats.
Temperature
Keep room temperature above 55°F when applying compound and texture. Cold temperatures slow drying and can affect adhesion.
Common Minnesota Home Textures by Era
- 1950s-1960s: Smooth plaster or very light orange peel
- 1970s-1980s: Heavy orange peel, stomp brush, popcorn ceilings
- 1990s-2000s: Medium knockdown, lighter orange peel
- 2010s-present: Light knockdown, smooth finish trending
When to Call a Professional
DIY-Friendly Repairs
- Single small holes
- Nail/screw holes
- Minor cracks
- Small areas of damage
Call a Pro For
- Water damage repairs (source must be fixed first)
- Matching texture over large areas
- Ceiling repairs (harder due to gravity and visibility)
- Multiple rooms needing repair
- Popcorn ceiling repair or removal
- Insurance-related damage documentation
Professional Wall Texture Repair in Minnesota
Advanced Painting Services has 15+ years of experience repairing and matching wall textures throughout the Twin Cities. From orange peel patches to full ceiling retexturing, we make repairs invisible.
Serving Shoreview, Vadnais Heights, White Bear Lake, Roseville, Arden Hills, and 40+ Twin Cities communities.
Call 763-290-2786 for a free drywall repair estimate.
Explore More
Related Articles
Ready to start your project?
Contact us for a free consultation and estimate for your painting or drywall needs.